As I mentioned in my previous post on the Zone System I was not at all sure quite how to approach this exercise with a digital camera and without a spot meter. I have though now worked out how to approach this and have come up with a trio of shots.
With its exposure compensation and bracketing functions it is of course quite a simple matter to get the camera itself too take a series of shots at different exposures, the equivalent of moving the mid-tone from one zone to another, and then processing them together to produce a final image that is properly balanced across the light range. The object of this exercise is though of course to have a go manually, at least as an exercise to demonstrate an understanding of the principle.
The trio of shots that I have produced are not the greatest, not least because I have not devoted as much time to them as I might otherwise – I have had other things that needed to be done today. They are at least nevertheless illustrative.
What I have chosen is a view across my study towards its window, and the dark corner next to it, to get the widely different light conditions. I used my old Canon rather than the newer Leica as I have not yet got my head round the light-metering options on the latter whereas I am reasonably familiar with those on the former. I set autofocus and metering to spot mode to at least approach what I might get if I had a separate spot meter.
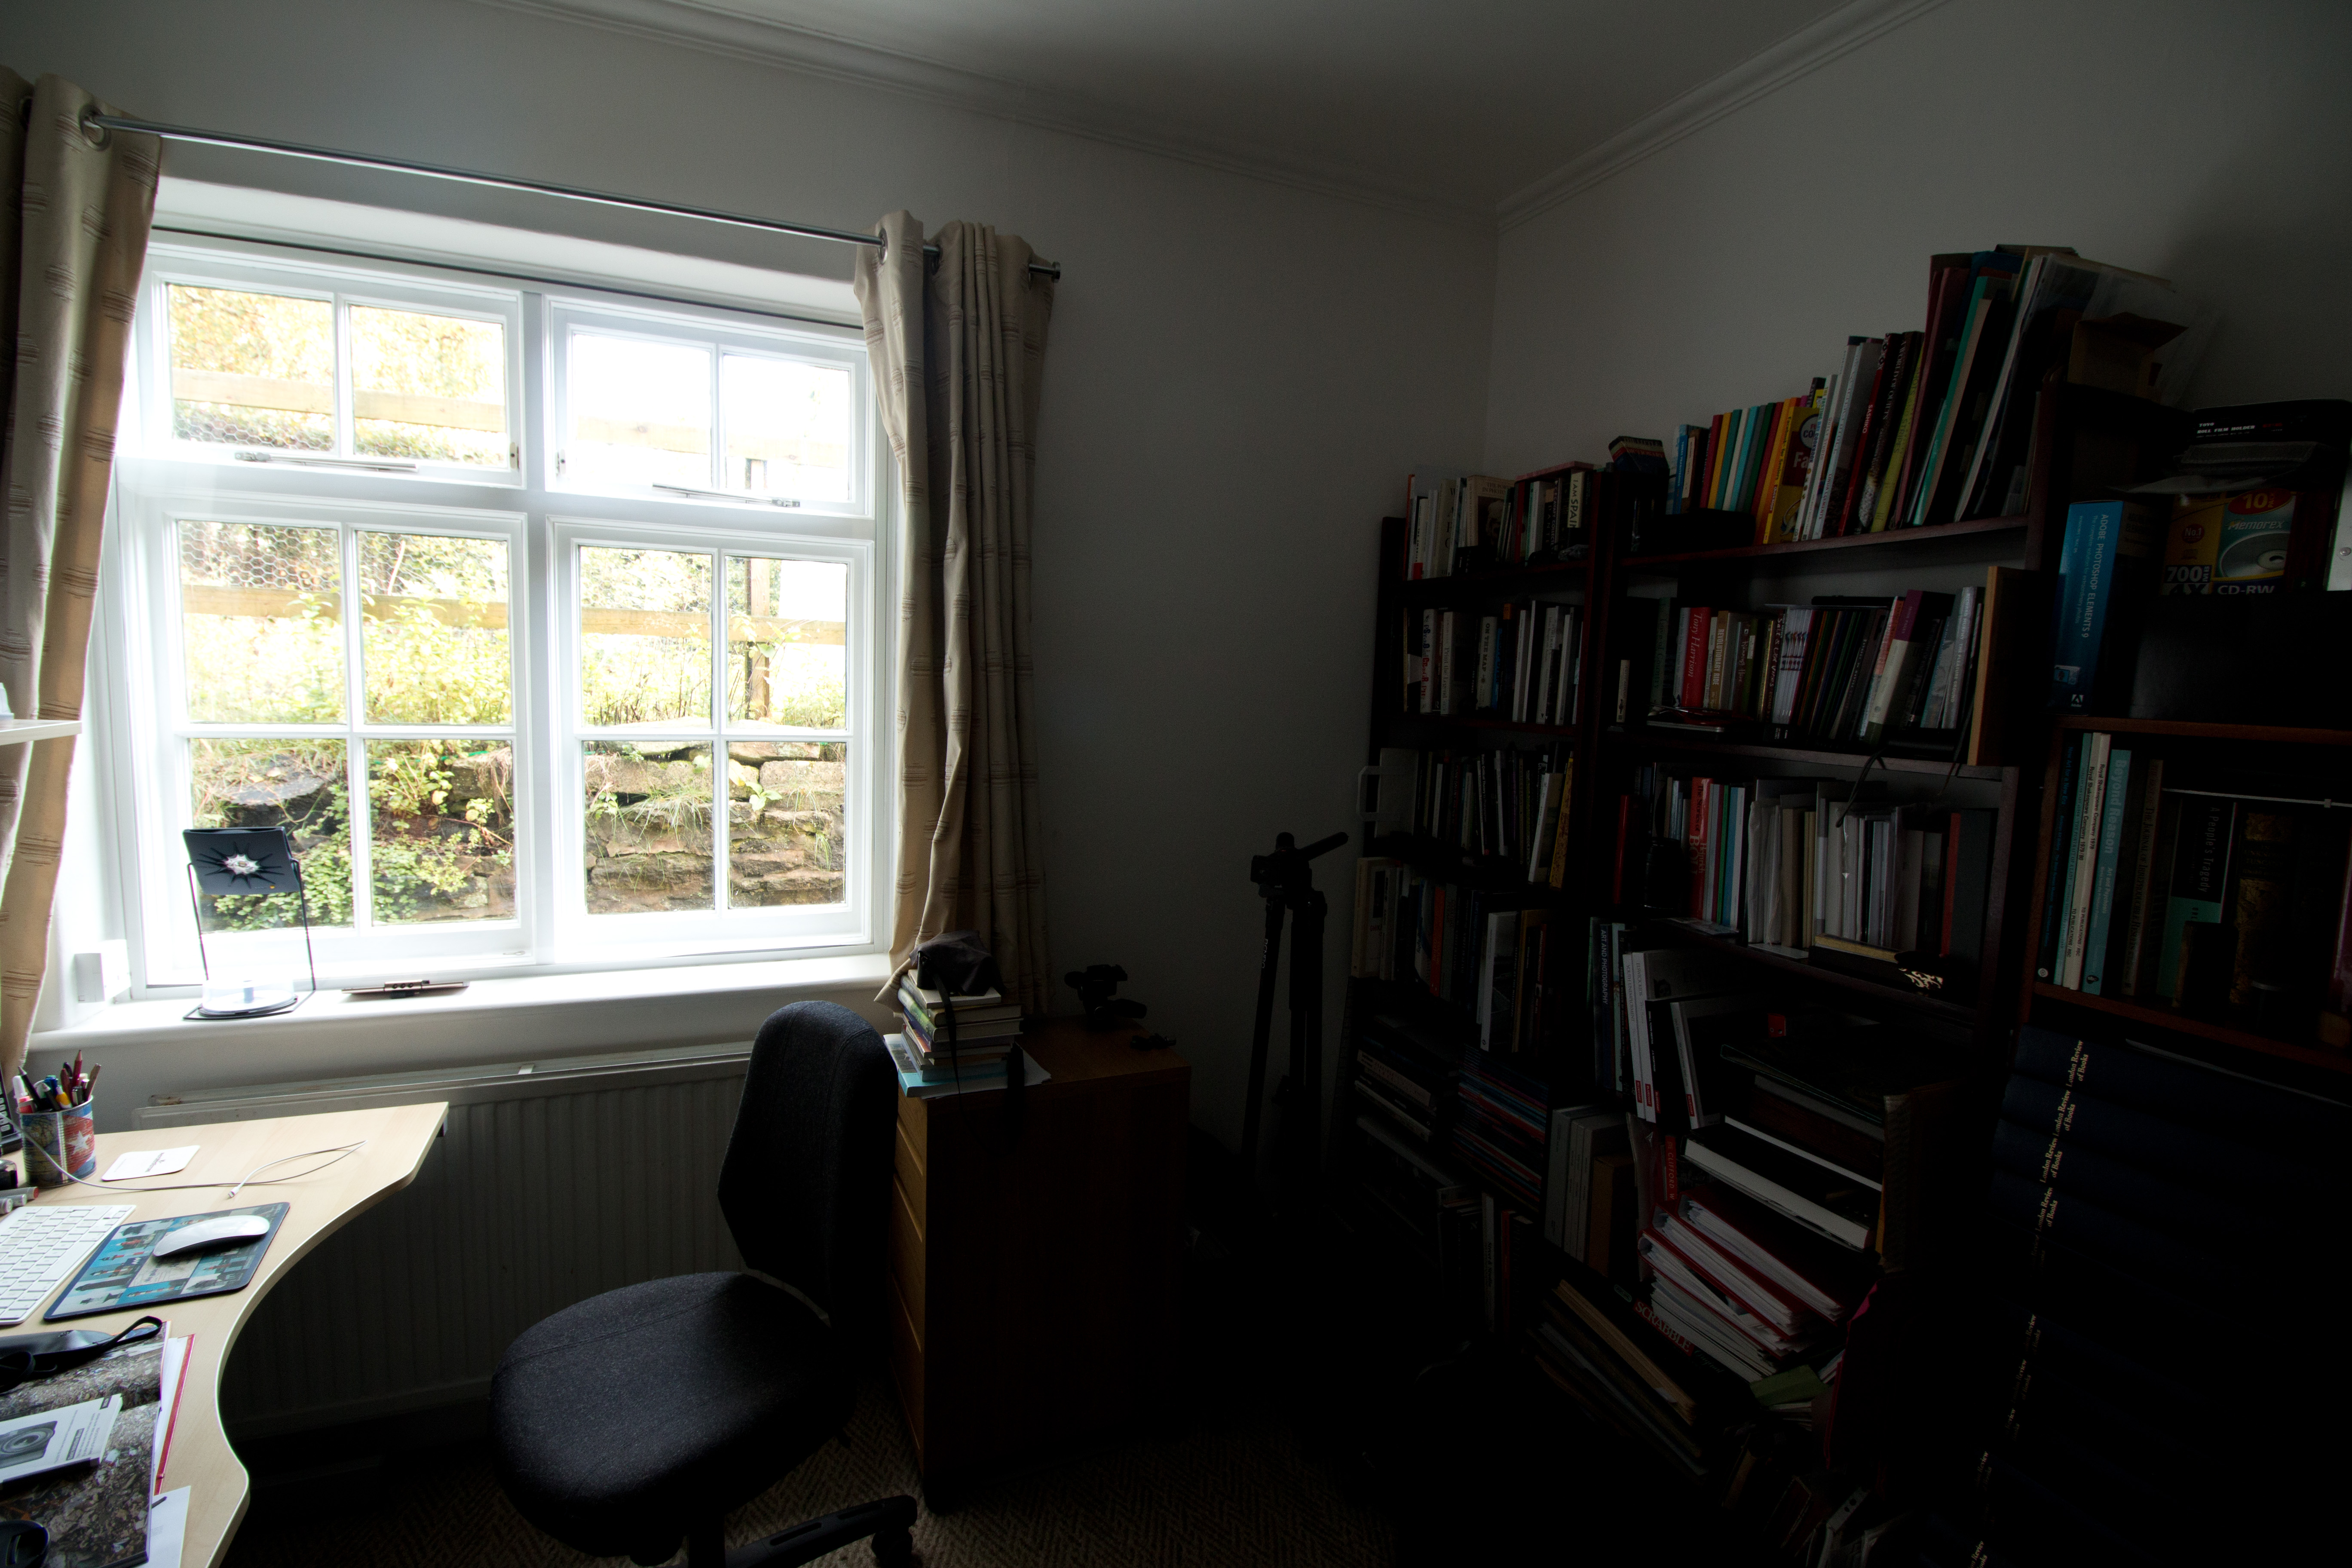
As a first step I put a sheet of grey card in what felt like the middle of the light range in the study, catching a reasonable amount of light but not in direct sunlight (not that there has been much of that today!). Using a wide angle lens set at 10mm (this was the only way I could get in both the window and the darker corner) and putting the camera in Programme mode I metered the light on the card and got a reading of 1/15s at f/5.6 (at ISO 400). I used this as my baseline, Zone V. I then took my first shot, this time in Manual mode using these settings, effectively placing the wall between the window and the corner in that Zone:
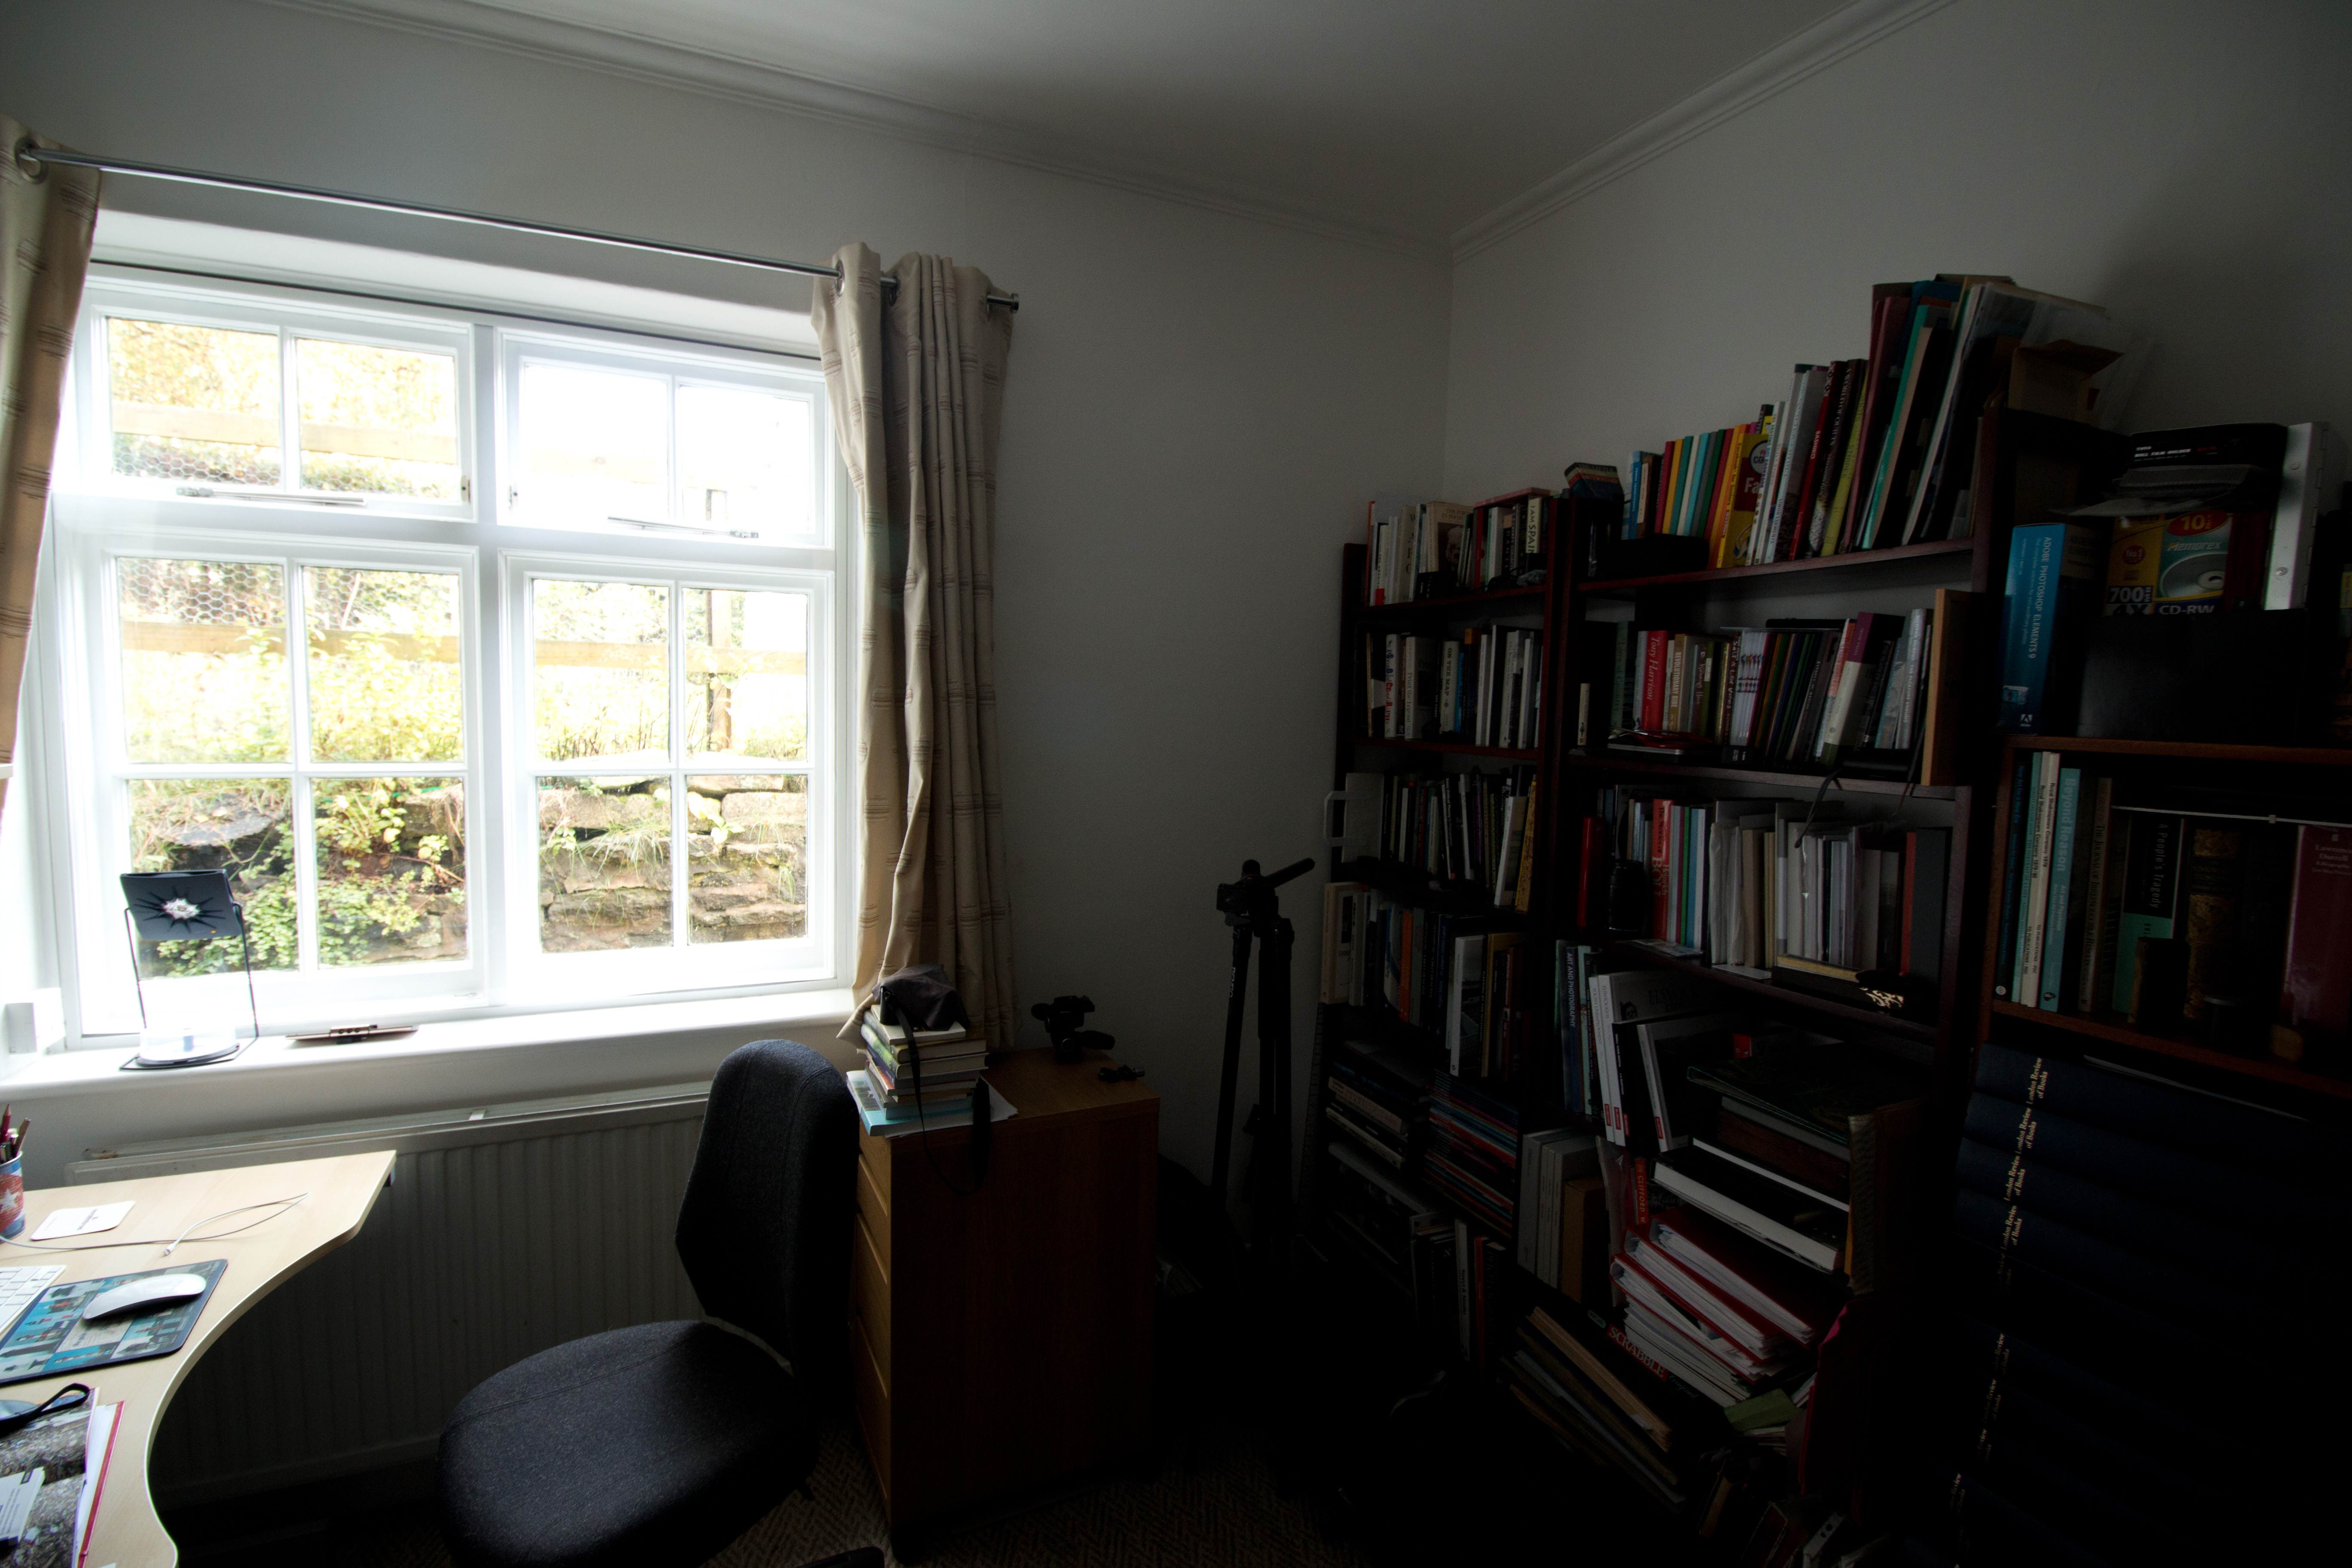
I then repeated at f/4.5, going up a stop (I wanted to go up two stops but this is the largest aperture available on this particular lens), effectively moving that area into Zone VI and consequently lightening the bookcases on the right, bringing out more detail. The downside is that it has also lightened the view through the window but at least it has not all burned out.
Going the other way I then stopped down two stops to f/7.6:
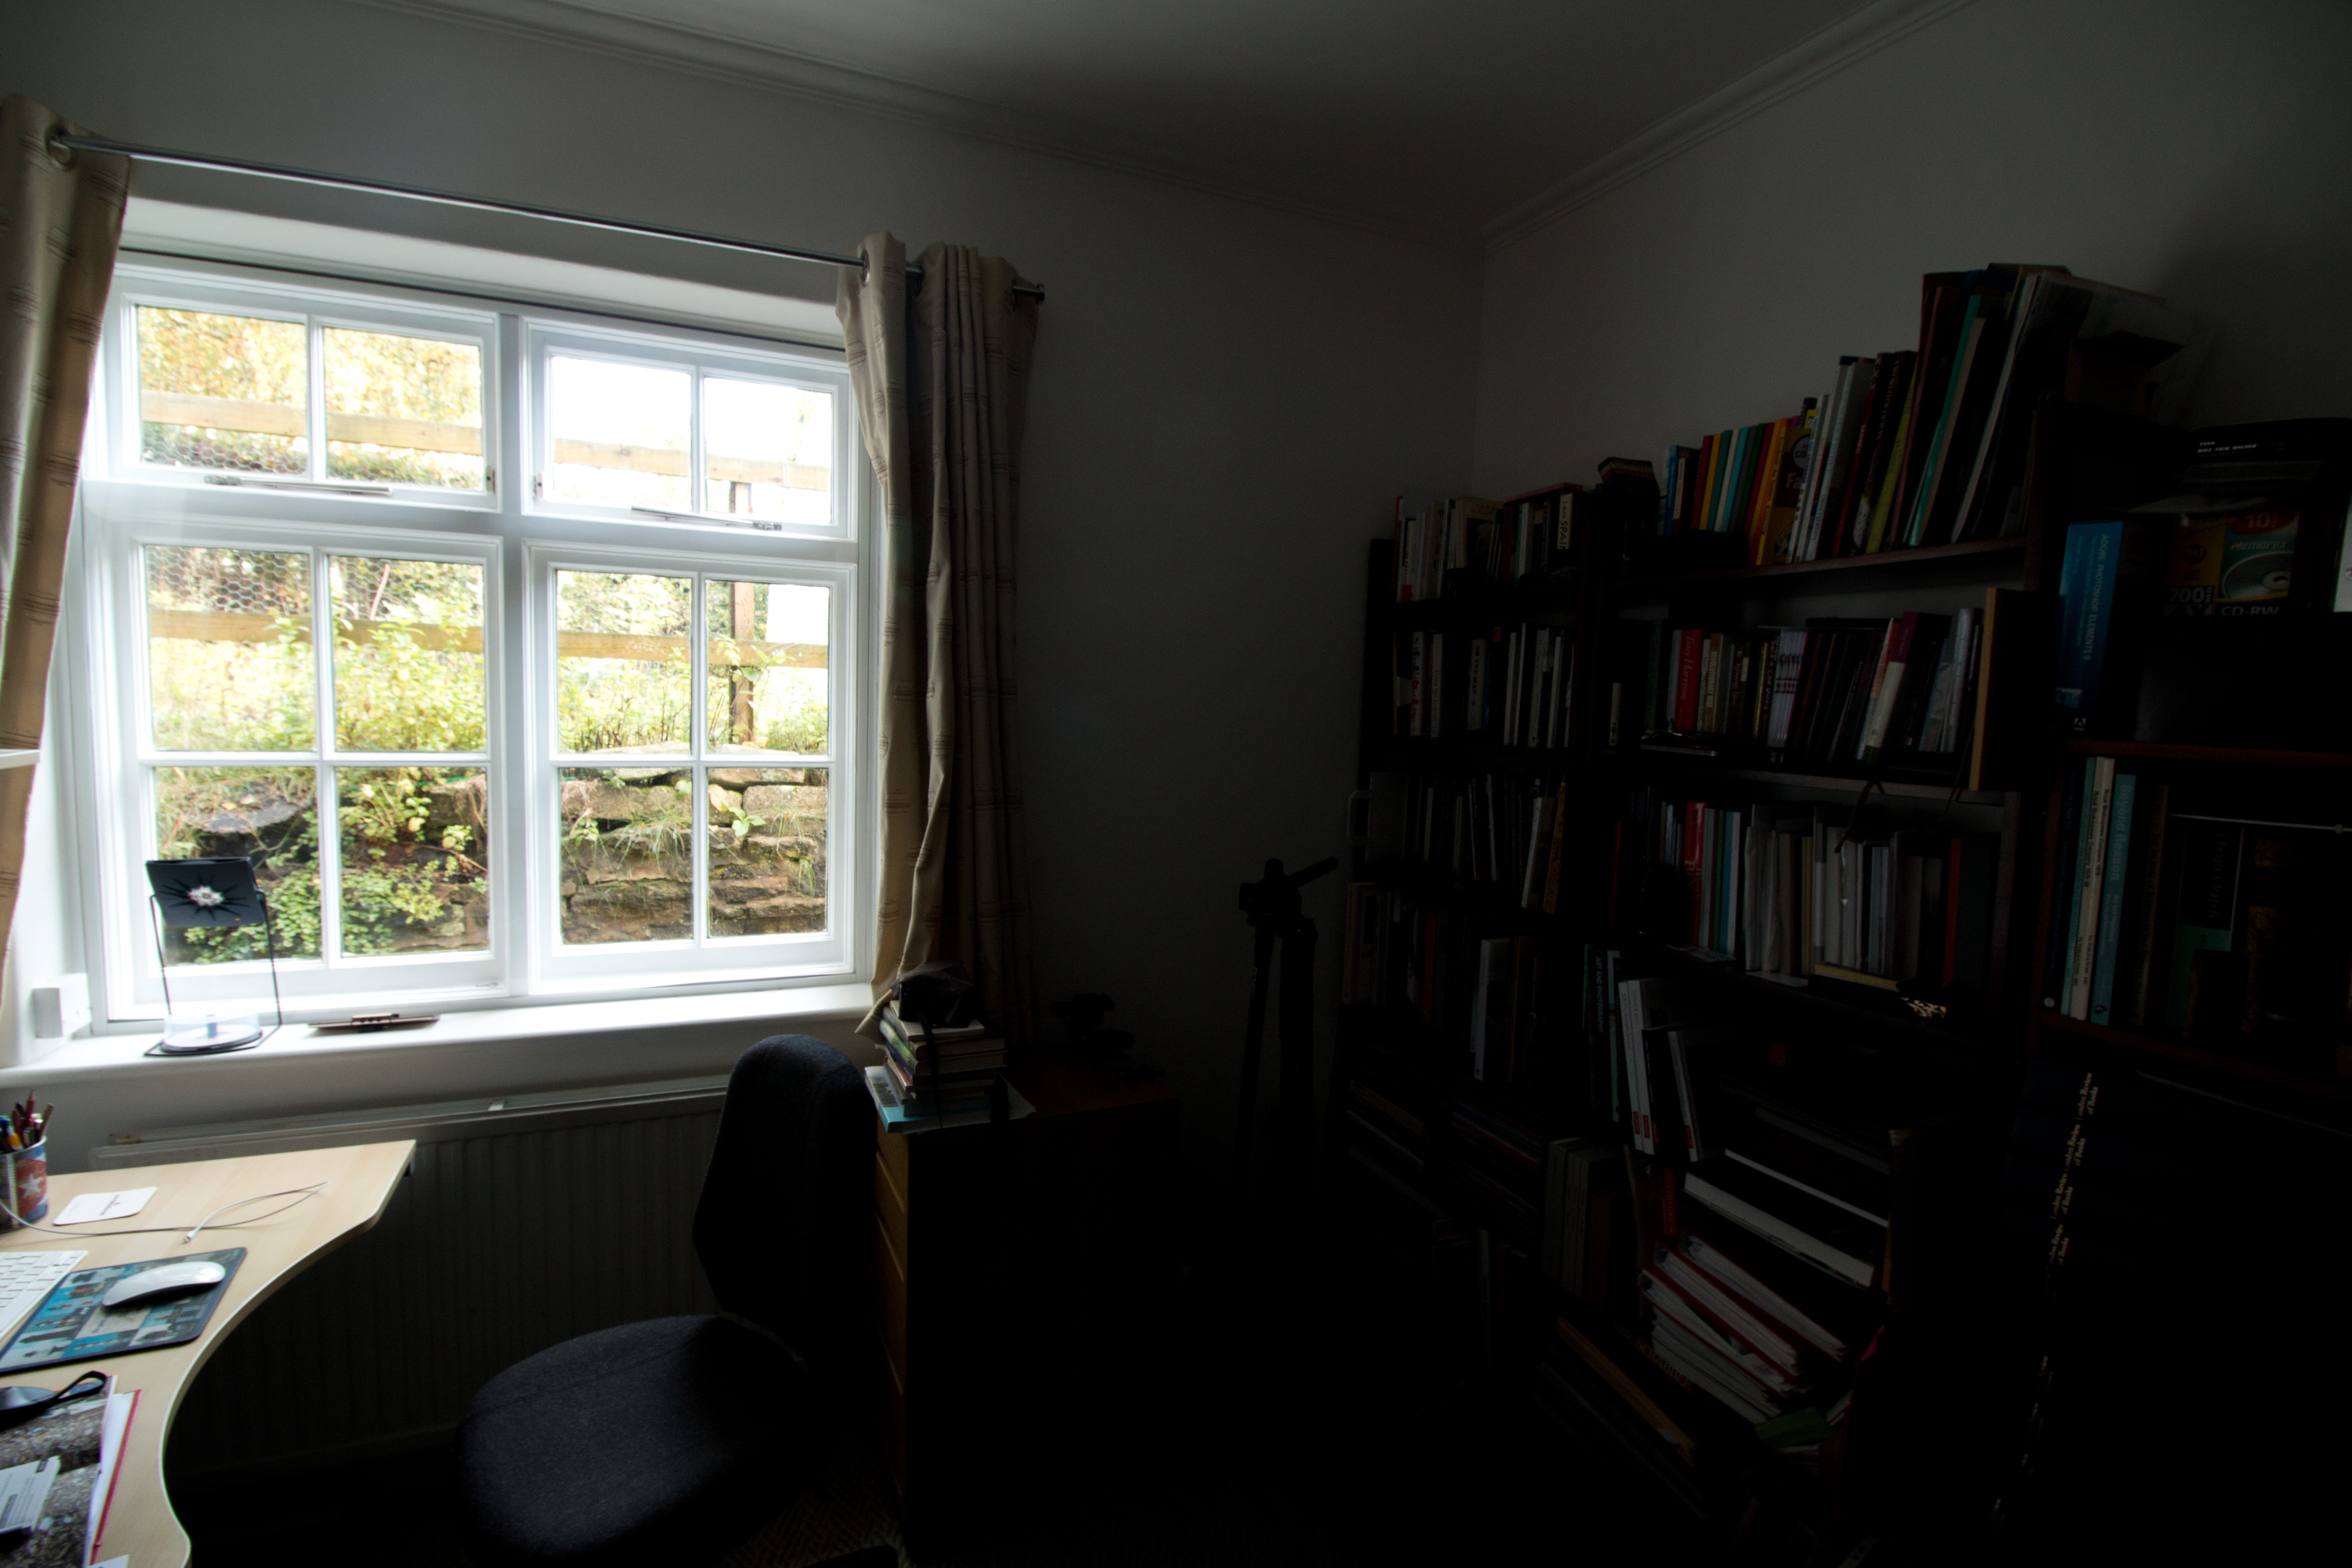
This moved the mid-tone to Zone III, making the right side considerably darker and difficult to see, but makes the window view more natural.
None are really ideal but shifting the mid-tone to Zone VI at least makes for a more balanced image in terms of the extremes of light and dark, and it striking how much of a difference it has made between the first two shots. I have to confess I was a bit sceptical at the outset about how this would work out in practice but I can now see that the system is in fact quite simple in practice and really can be useful even with a digital camera, not something that is confined just to negative printing.
